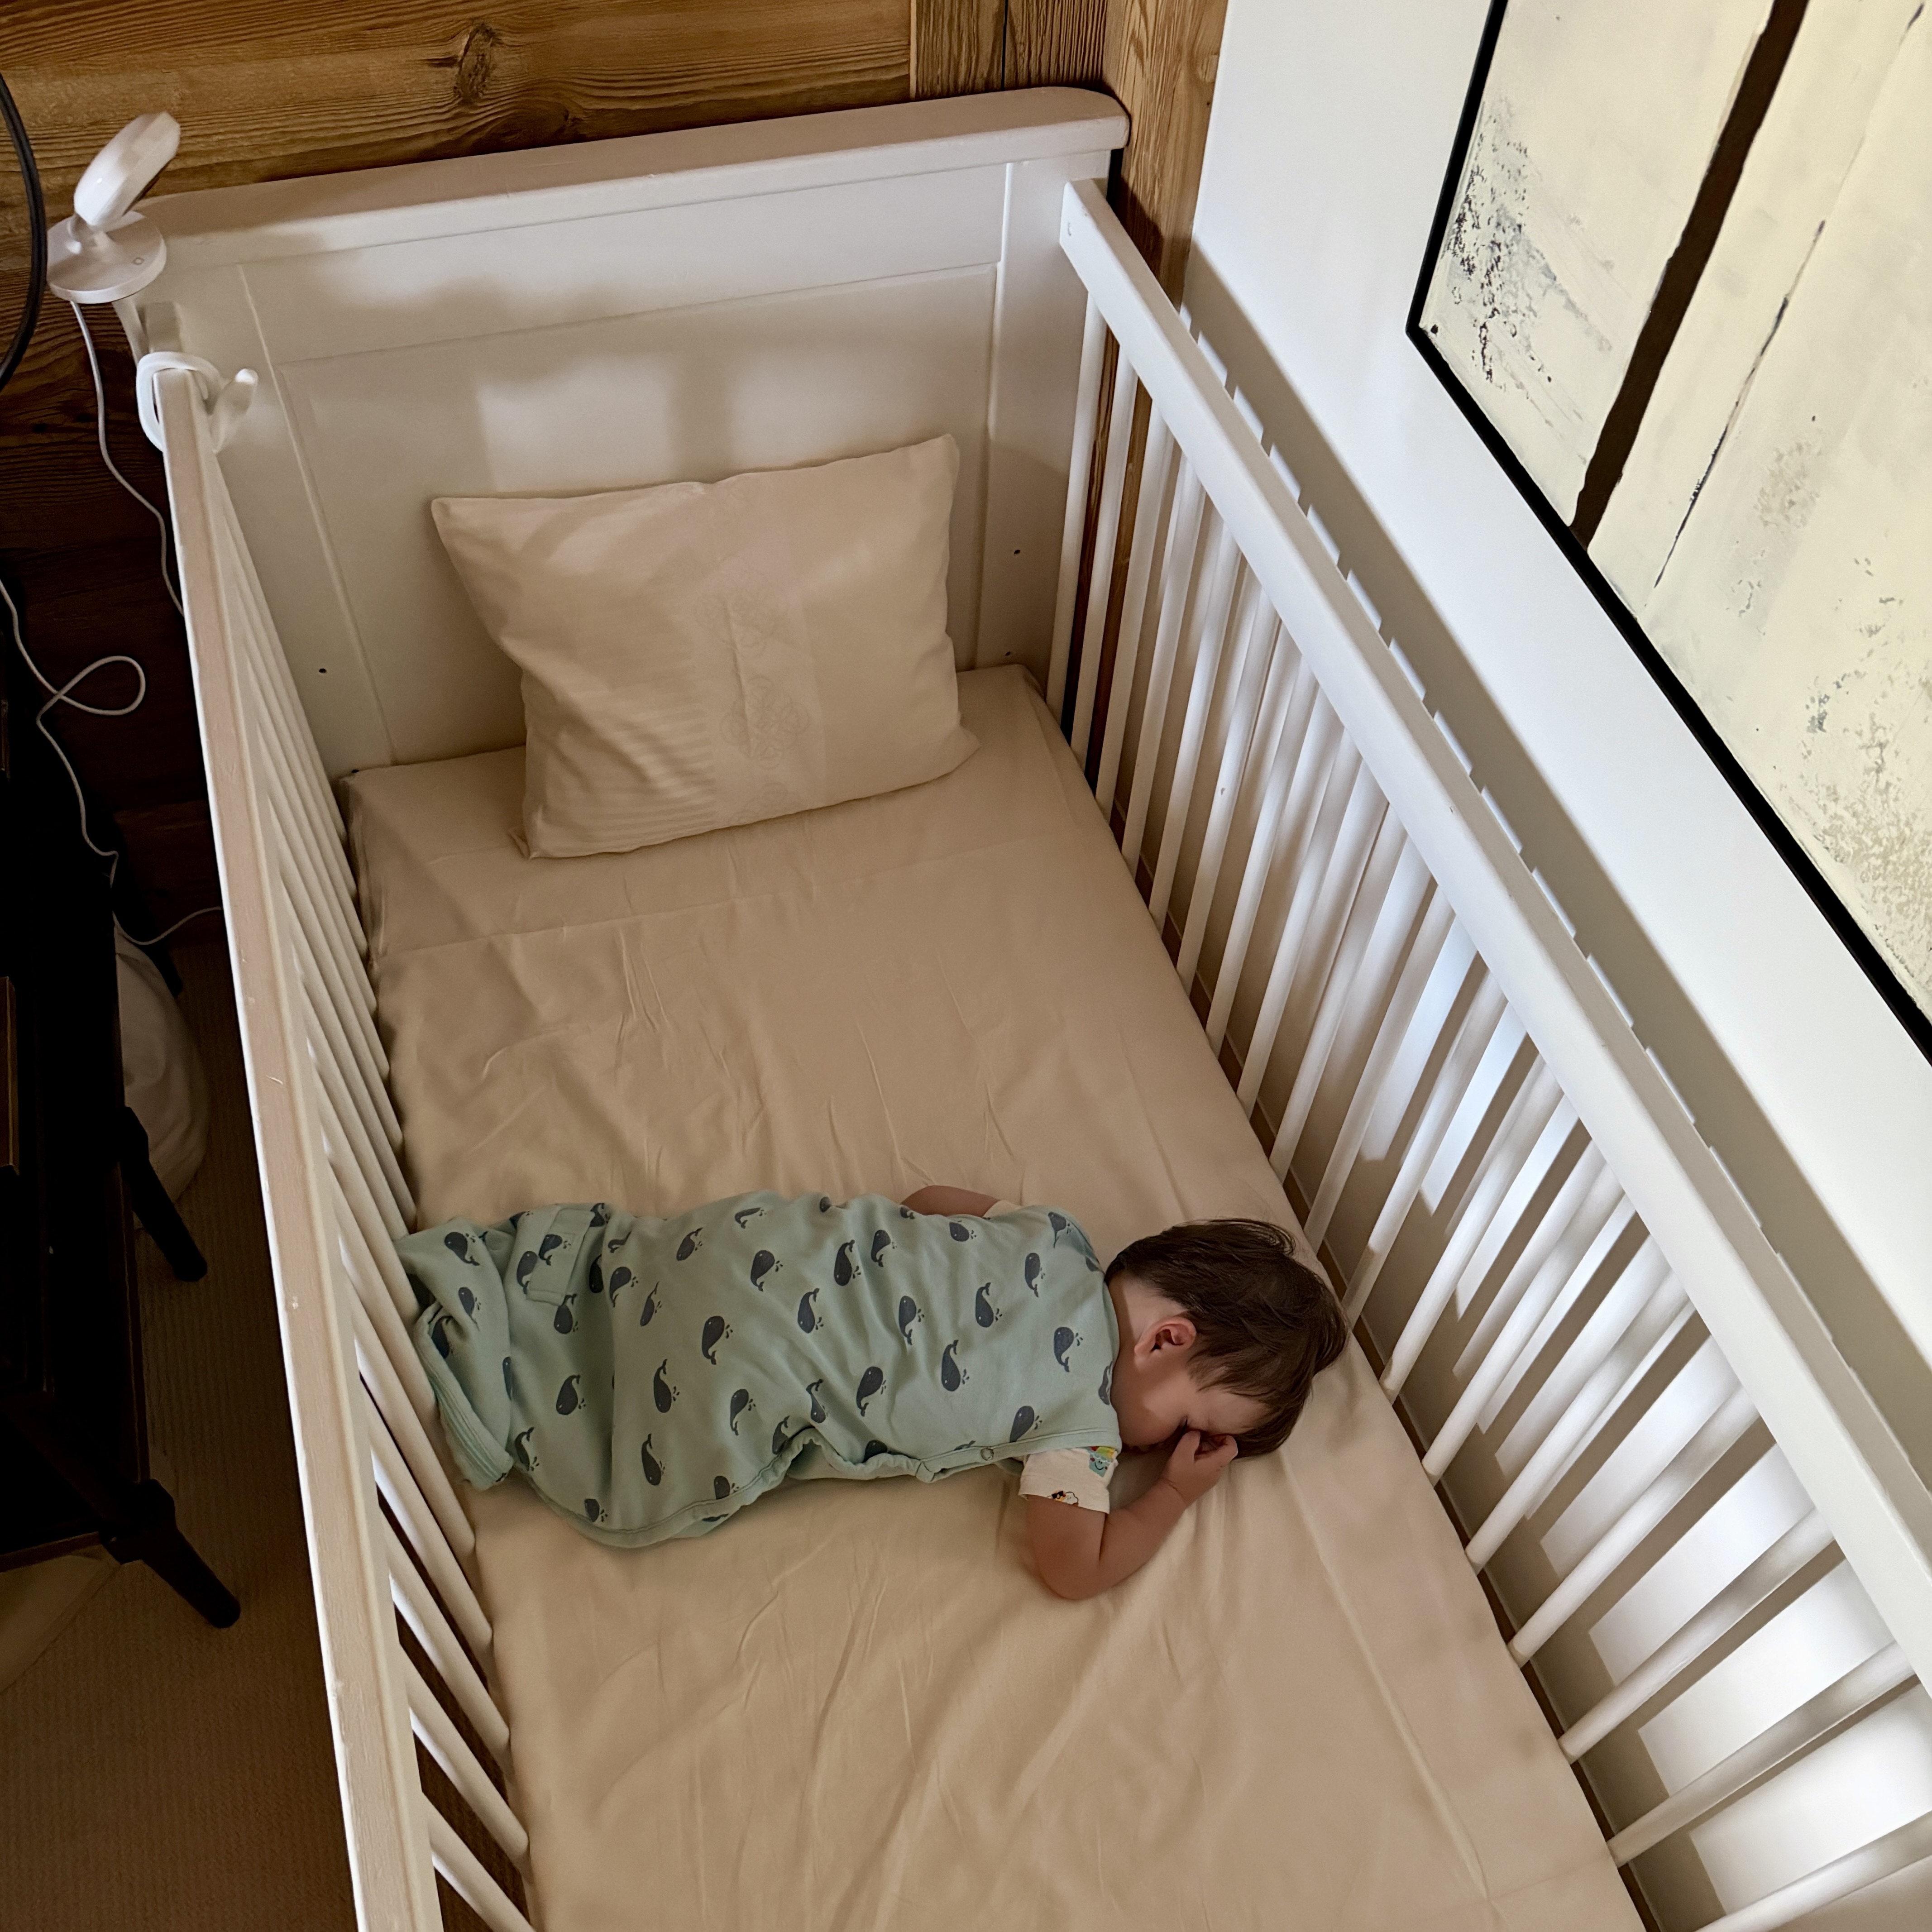
The worse time to set up your baby monitor is at baby’s bedtime. Your Nanit can work when you check into the hotel and lose its connection by bedtime. Getting the camera online once is only the first part of setting up your sleep space.
Many hotel WiFi networks use a captive portal: the sign-in page where you enter your room number, accept the terms, or log in through a browser. That login can expire (often times, daily e.g. Marriott, IHG, Hyatt hotels). The camera may still appear connected to WiFi while it no longer has internet access.
We bring our Nanit when we travel, and we try to sort out the connection while we still have time to ask the hotel for help. These are the options we use, in the order we try them.
Our travel setup
Before you travel: recommended hardware
Start with the camera and the gear you need to bring your Nanit setup with you. These are the pieces on our travel list:
Pack the camera, stand or mount, power cable, and adapter. Update the Nanit app and check the camera at home before packing it. If you are bringing a travel router, make sure you know how to access its settings and have their app downloaded (e.g. for TP Link, the app is Tether).
Before you travel: get your camera’s MAC address and save it!
Email help@nanit.com and ask for your camera’s MAC address. We requested ours from Nanit Support and saved their reply on our phone so we could share it with hotel IT, if needed. A MAC address is a network identifier for your camera. It is the detail the hotel may need to authorize that particular device if connection fails.
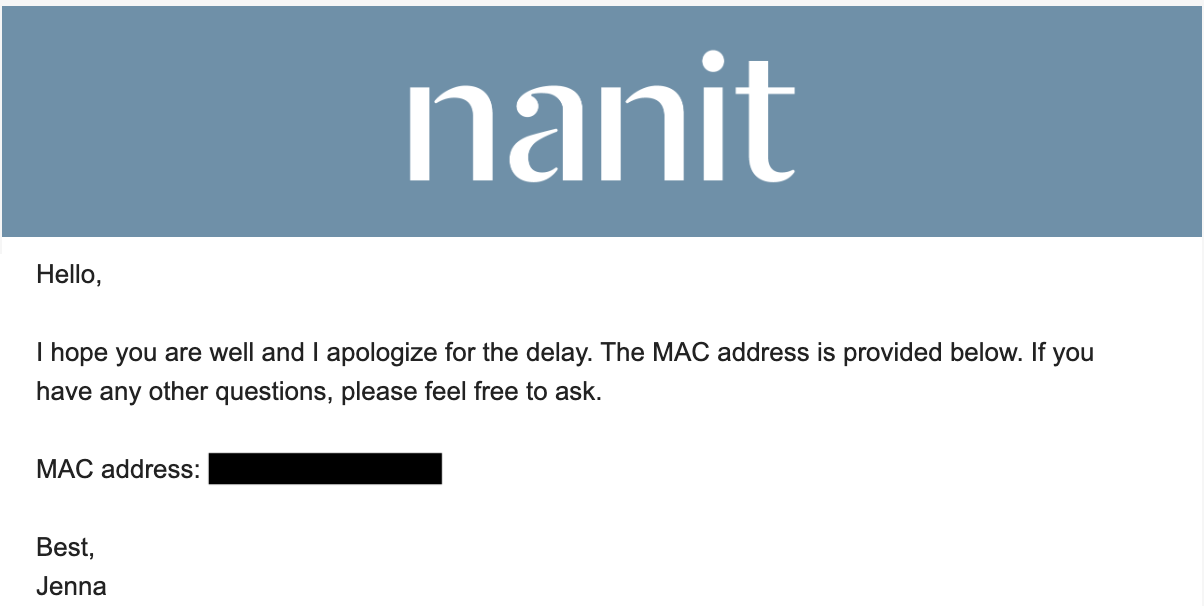
Our first choice
Ask whether the hotel has a private network
Before working through the guest WiFi login, ask the front desk whether there is a password-protected network.
“We’re setting up our baby monitor. Do you have a password-protected network for smart devices that doesn’t require a browser login?”
This is our preferred starting point because it can remove repeated hotel sign-ins. Confirm that the offered network has no browser login; a “private” network may still use a portal.
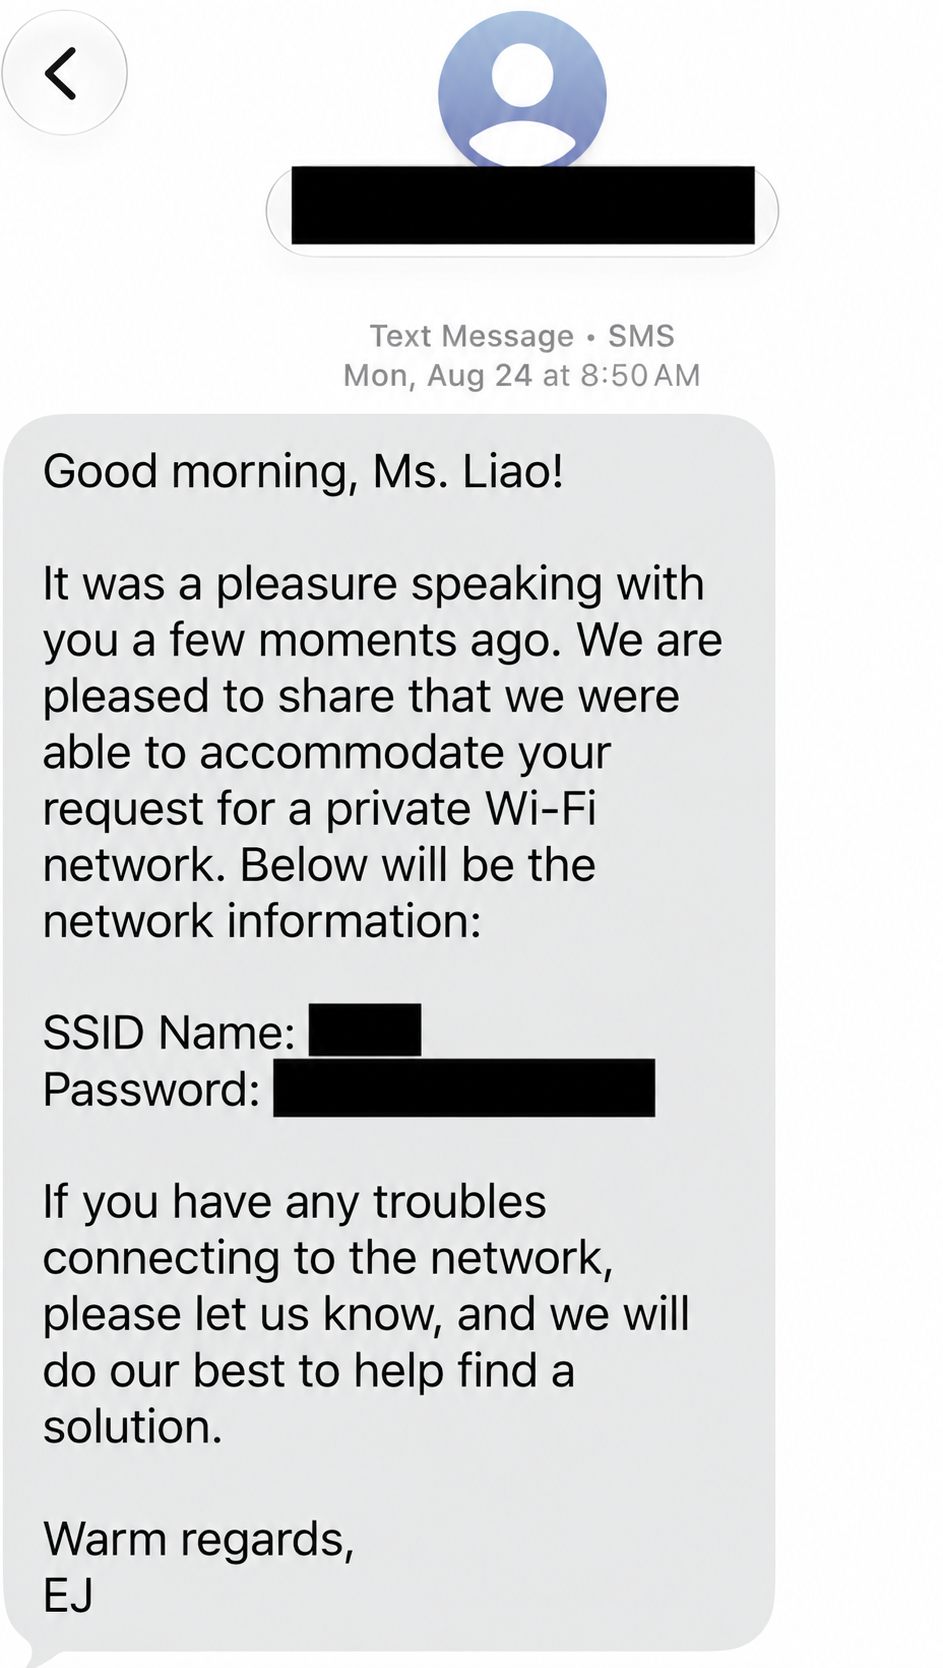
At the Four Seasons, the team arranged a private WiFi network for us after we asked. This is the message they sent with the connection details.
Our preferred backup
Ask hotel IT to whitelist the MAC address
If the guest network keeps asking for a login or your Nanit just can’t connect to the public network, ask the front desk to connect you with hotel IT. Share the camera’s MAC address and ask whether they can authorize it on the network for the duration of your stay.
You may hear this called whitelisting or device authorization. The point is to let the hotel recognize the camera and, if its system allows, give it access without repeated browser logins.
“Could your IT team whitelist our baby monitor’s MAC address for our stay, so it can connect without repeated captive-portal logins?”
This takes more effort upfront, which is why we save the MAC address before traveling. Based on my travels, a call to IT typically takes under 10 minutes to set up. Confirm how long the authorization lasts, and test the camera afterward.
The quick first try
Connect directly through Nanit’s hotel WiFi feature
If the hotel cannot offer a suitable private network or whitelist the IP address, try connecting the camera directly to its guest WiFi. Nanit supports open networks and captive-portal login through its pairing flow. Though, often times, we find the flow doesn’t work or hangs.
- Open the Nanit app and your camera’s network settings.
- Select the option to pair with another network and follow the WiFi prompts.
- Choose the hotel network and complete any hotel sign-in page.
- Finish pairing, then check the live feed.
Menu names can vary by app version. Keep Nanit’s current hotel connection instructions handy as you set it up.
This is the fastest option to try without extra equipment or a call to IT. However, the downside is you may need to repeat the login every time you get kicked off the network (e.g. with Marriott, it tends to be daily). A successful connection at check-in does not tell you whether the hotel will require another login that evening.
The DIY backup
Use a travel router
A travel router is the backup we can set up ourselves. It gives the camera a local WiFi network to join, while the router connects to the hotel’s internet.
- Connect the travel router to the hotel WiFi.
- Use your phone or laptop to complete the hotel’s login through the router, following its instructions.
- Join the router’s network on your phone.
- Pair Nanit with that same router network, then test the live feed.
Nanit includes this approach in its hotel WiFi guide. Choose a router that supports connecting to an existing Wi-Fi network and handling its login page.
The tradeoff: the router still depends on the hotel’s internet connection. It does not prevent the hotel from logging you out, and it may need another sign-in.
Set it up on arrival. Test it before bedtime.
Bedtime is a terrible moment to discover that your baby monitor doesn’t work. Set it up after check-in, while there is still time to try another connection or reach hotel IT.
- Check live video and audio. Confirm you can see the sleep space and hear sound through the app.
- Check again before bedtime. Leave time between your first setup and this second check.
- Recheck after any new hotel login. Confirm the camera works again, too.
Our first question is always about a private network. Then we ask about MAC address whitelisting, then the direct connection through the hotel's public network or Captive portal. The travel router as our DIY backup.
A few minutes spent on the connection after check-in can mean fewer things to sort out when everyone is ready for sleep.